Enrollment Instructions
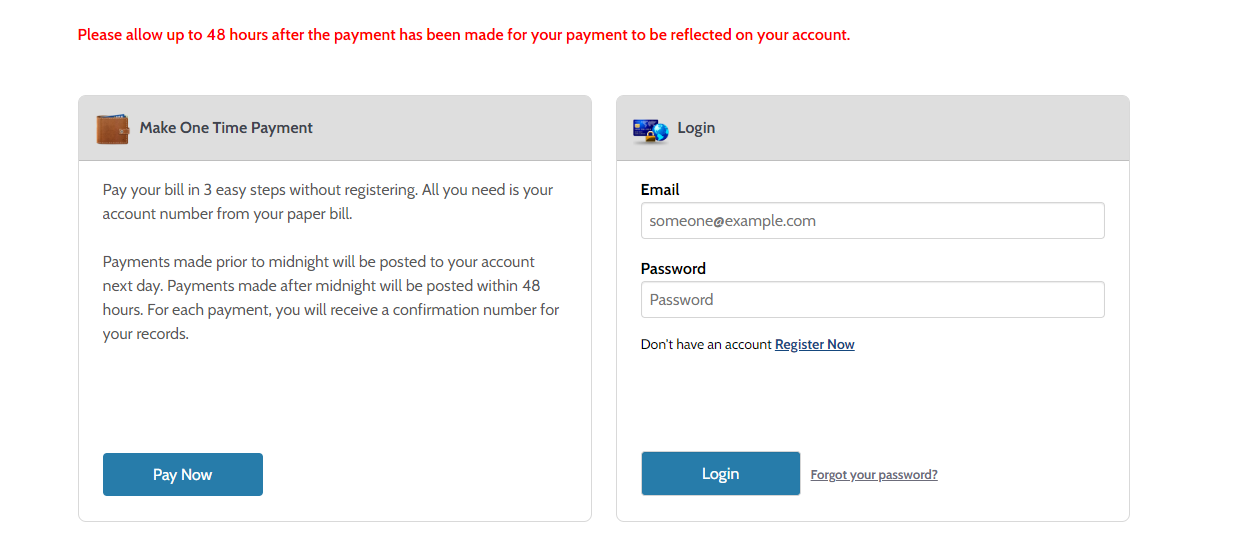
- To start your enrollment, please navigate to https://ipn.paymentus.com/cp/aaco
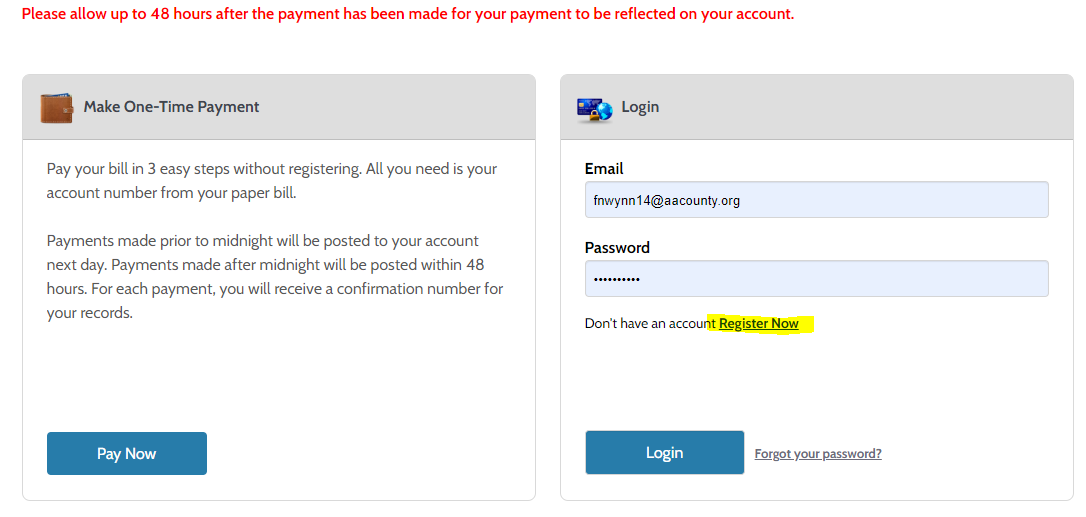
- Click on the "Register Now" link (see screenshot below).
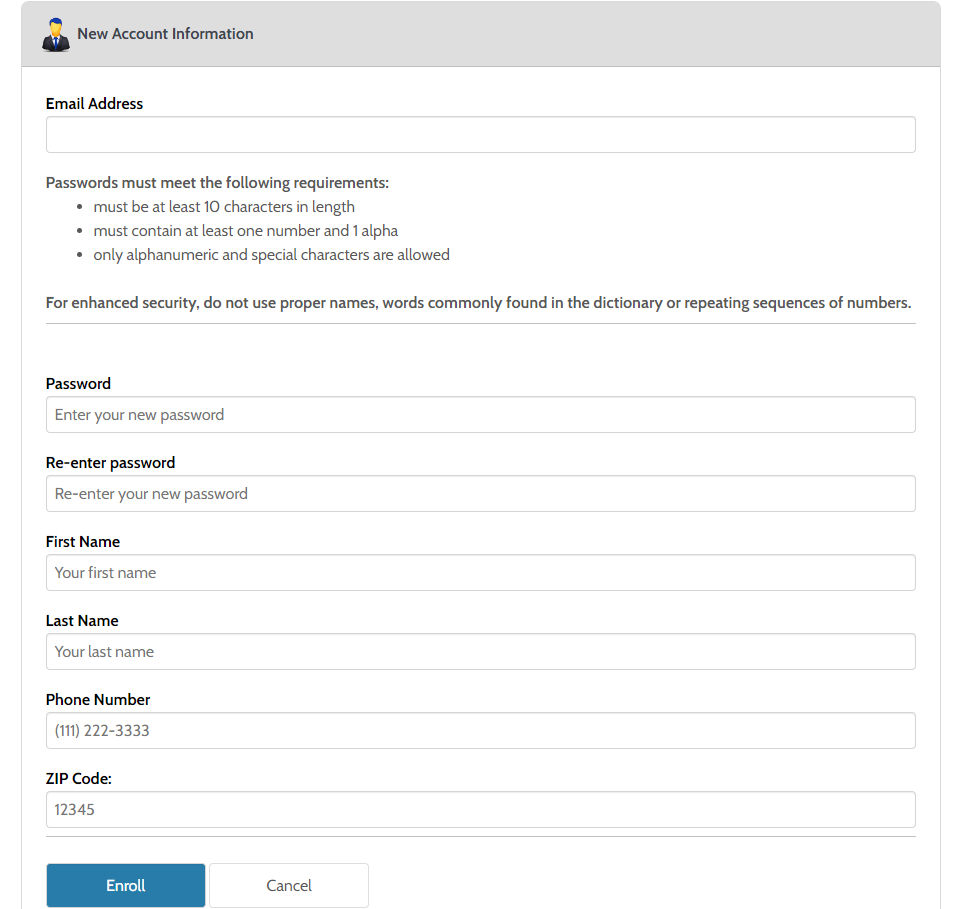
- Fill out the information in the "New Account Information" form
- When complete, click "Enroll"
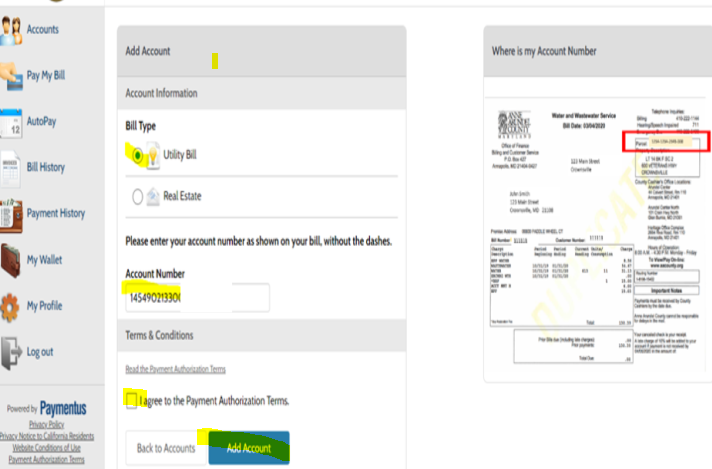
Once registered as a new user, you can add an account (utility or real estate) for bill payment scheduling.
- Select the type of bill you would like to pay
- Enter the account number from your bill with no dashes (Utility 15 digits), and/or parcel number (Real Estate, 12 digits)
- Read and agree to the Payment Authorization terms (if acceptable)
- Click the "Add Account" button
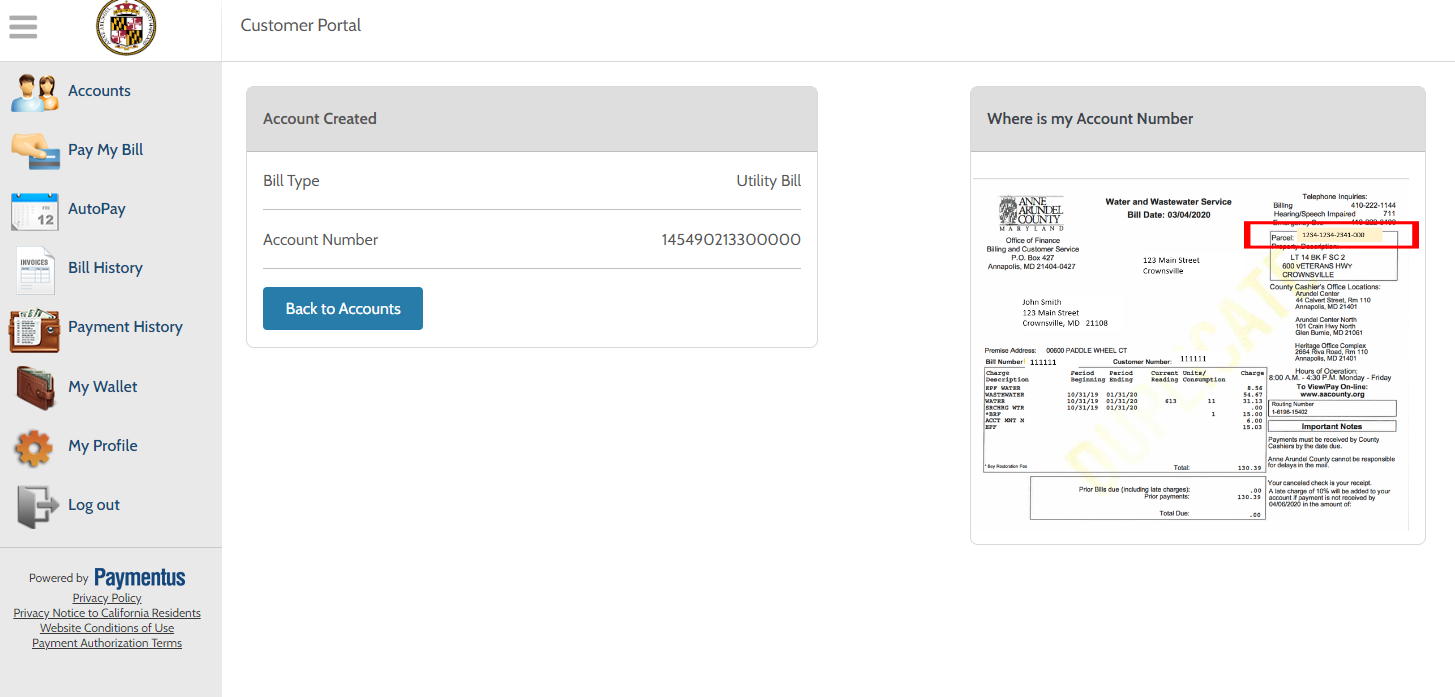
The account has been created. Click "Back to Accounts" to access the Accounts page.
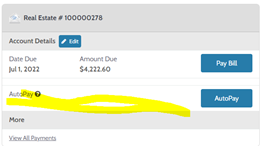
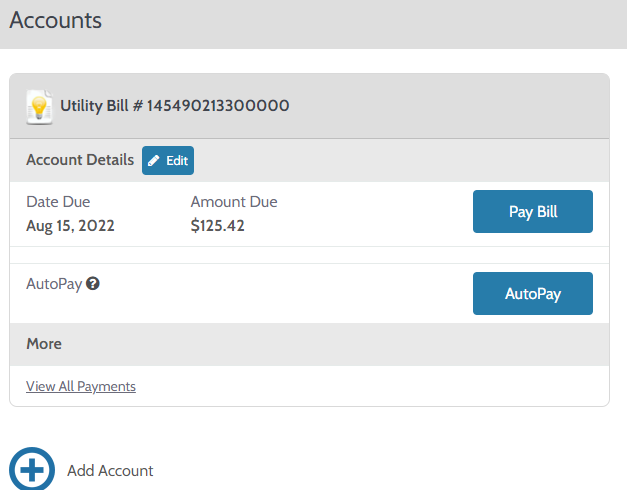
- After returning to the Accounts screen, you are able to review the account details. Ensure the date due and amount due match your bill.
- You are given the option of paying your bill, setting up Autopay, or optionally adding a different utility/real estate account.
- To set up an AutoPay schedule, click the "AutoPay" button.
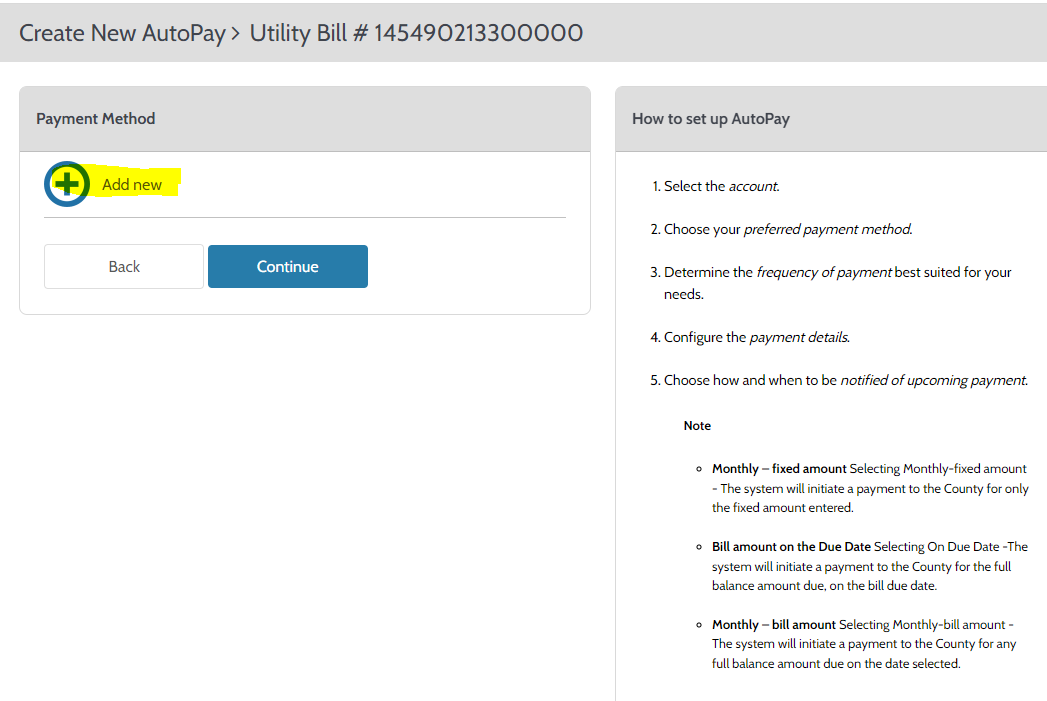
Add Payment Method
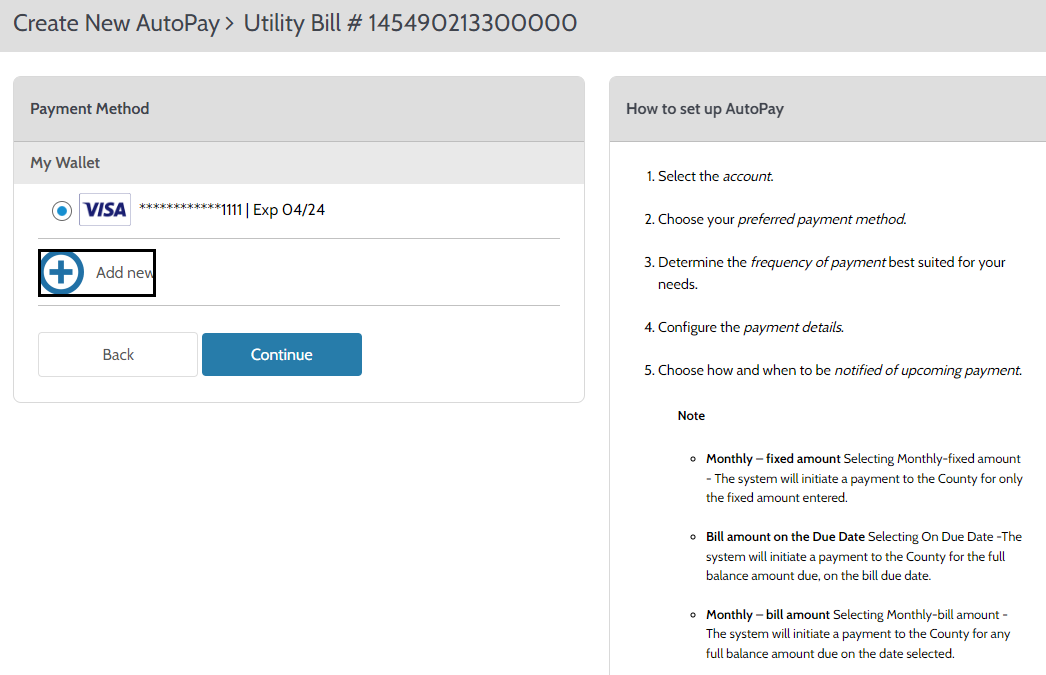
You will be presented with options for adding a new Payment Method. Click "Add New" to proceed.
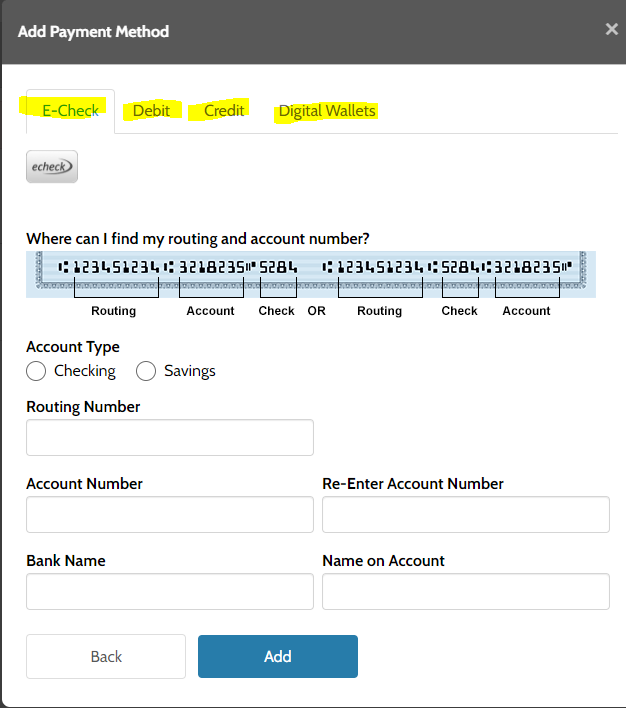
The "Add Payment Method" window will pop-up. Select the payment method you want to use for automatic payment, enter the requested information and click "Add".
- eCheck: ; Checking and Savings Account (Savings depending on bank)
- Debit Card: Visa, MasterCard, Discover
- Credit Card: Visa, MasterCard, American Express, Discover
- Digital Wallet (Amazon Pay)
The payment method has been setup. Click “Continue” to setup the payment detail.
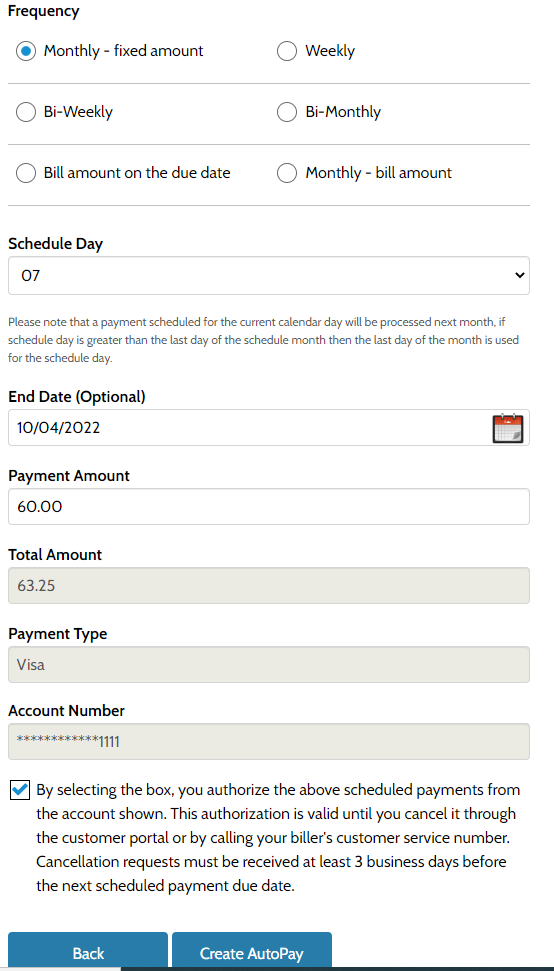
Payment Frequency
You have the ability to choose from various payment frequency options.
- Fixed amount options: Monthly-fixed amount, weekly, Bi-weekly, and Bi-monthly
- Bill amount on the due date – the system will pay the balance amount due on the bill "due date"
- Monthly-bill amount – pays the full balance due on the bill on the “date elected".
Pick the option that is most suitable for you, fill out the form with information needed based on the option selected, agree to the terms and click on "Create AutoPay"
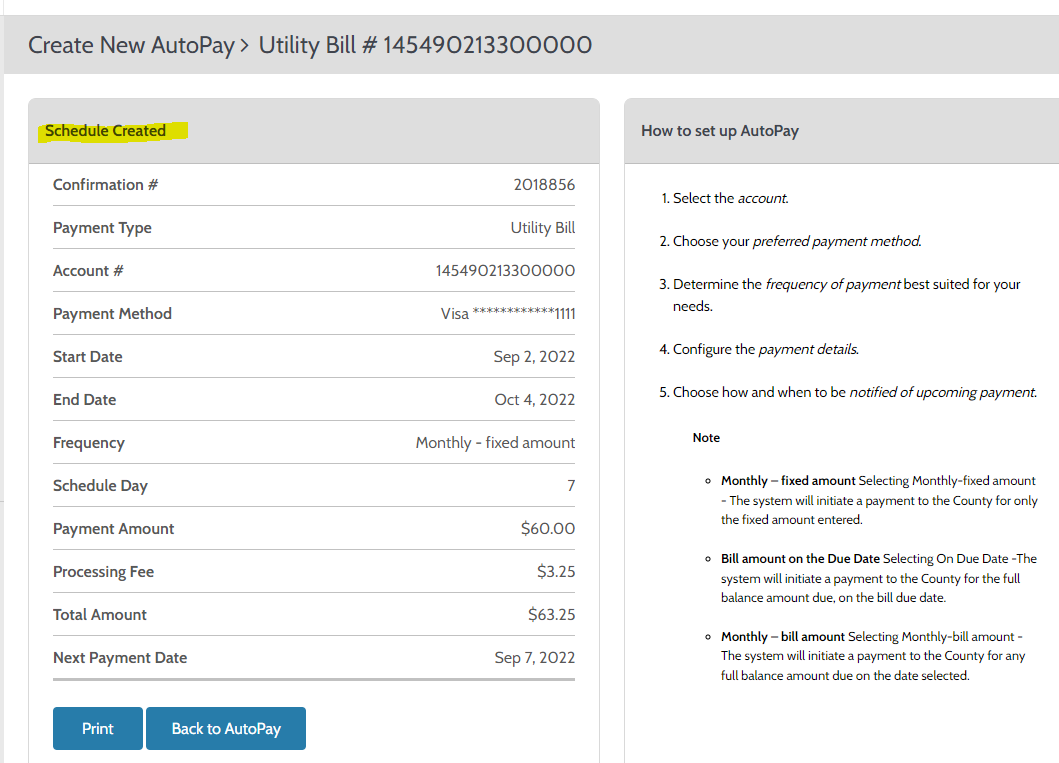
Confirmation
The AutoPay schedule is now created. You have the option to print a copy of the confirmation. In addition, you will receive an email confirmation letting you know their schedule have been created.
Cancellation Instructions
- These instructions detail the steps that customers should follow to turn off or cancel AutoPay.
- AutoPay is a program that customers enroll in to make payments on their account. Only the customer can cancel their enrollment in AutoPay.
- If customers have enrolled in AutoPay for both Utility Billing and Real Estate taxes, they will need to cancel the AutoPay under both accounts.
You should see the account(s) you have set up for AutoPay on the homepage. Locate the appropriate account that you want to disable AutoPay on.
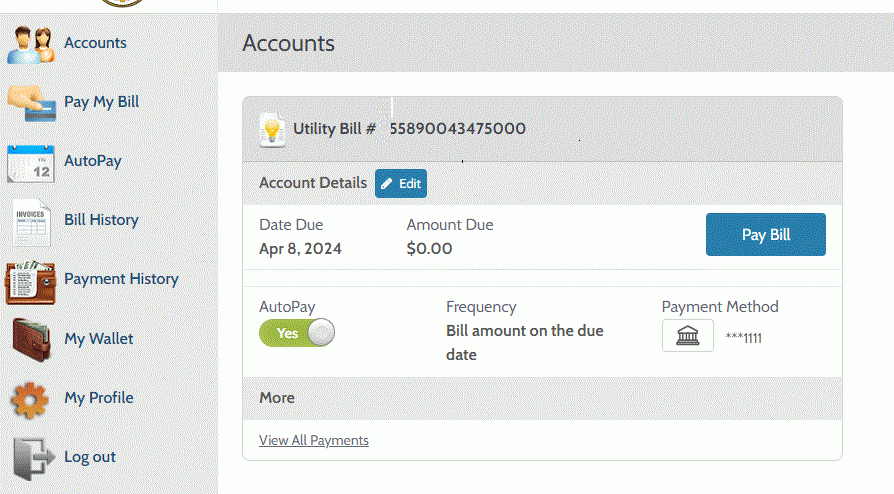
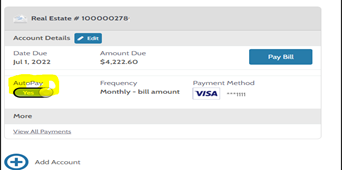
Locate the green "Yes" button under the word "AutoPay". Click the green "Yes" to cancel AutoPay.
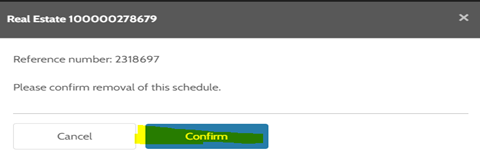
You will be prompted to confirm your cancellation. Click "Confirm" to agree to the cancelation of the scheduled AutoPay.
Under the account details, the green "Yes" button is gone under AutoPay and the option has been canceled for the account
